Joomla! installation source is packaged as a compressed file. To install it you have to upload to your shared hosting and extract it. You can easily do this by using the File Manager tool in your hosting cPanel.
Step to download then upload and extract Joomla! installation package on cPanel shared hosting
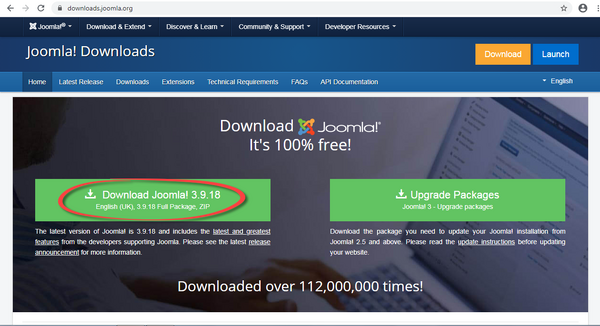
1 Download the current version of Joomla! installation package at Joomla! download page.
Download Joomla! installation package: https://downloads.joomla.org/
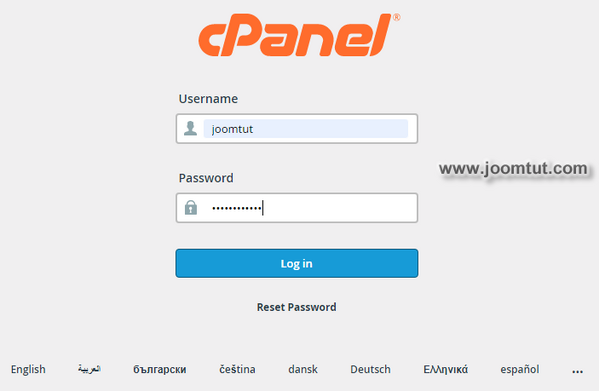
2 Login to your cPanel account.
- You have been provided an account to login to cPanel when renting shared hosting or after you have installed cPanel. If you don't remember it, check your email or contact the hosting provider.
- The appearance of the cPanel dashboard may be different. It may be changed by supplier or user.
- By default, cPanel's login address is:
https://your-domain.com:2082orhttps://your-domain.com:2083 - On some shared hosting, its address may be:
http://cpanel.your-domain.com
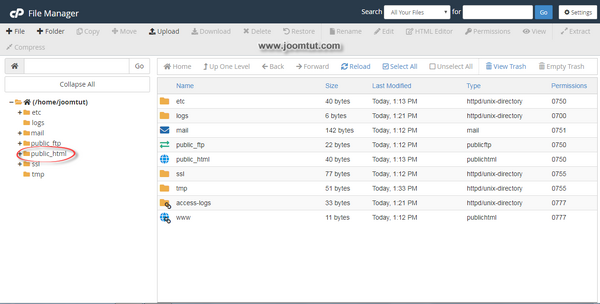
3 In cPanle, click on File Manager
4 In File Manager, select the directory named public_html
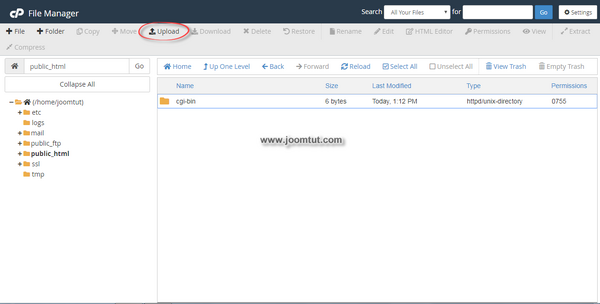
5 In public_html directory, click Upload
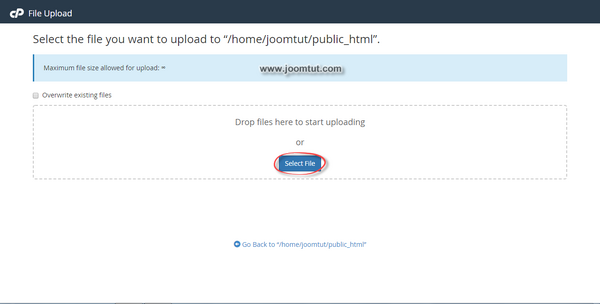
6 In File Upload, click Select File
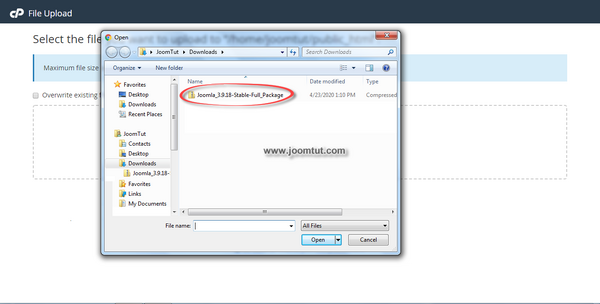
7 Select Joomla! installation package file then click Open to upload this file
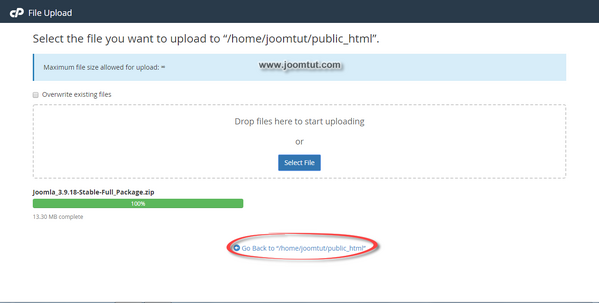
8 After successfully uploading, click on Go back to “home/joomtut/public_html”
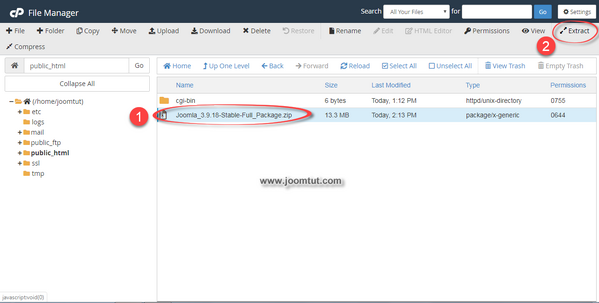
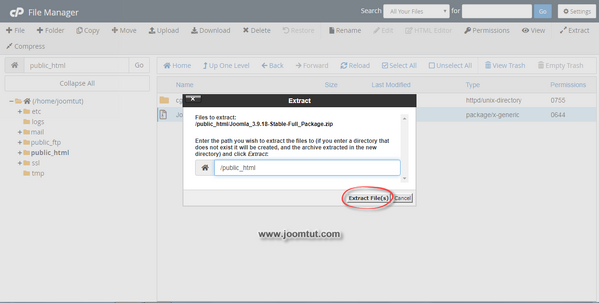
9 Select Joomla! installation package file then click Extract to unzip this file
10 Click Extract File(s) in dialog box to confirm
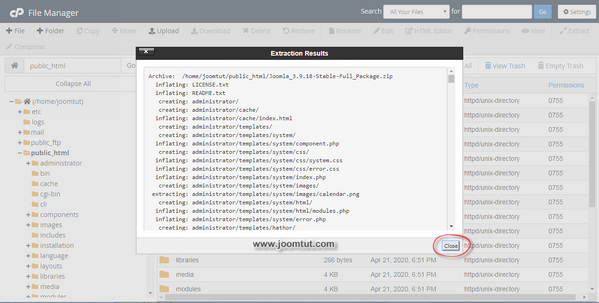
11 Click Close button to close Extraction results box
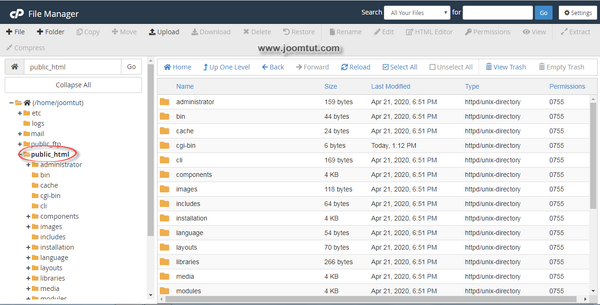
12 After extracting, you will get the Joomla! in the public_html directory.
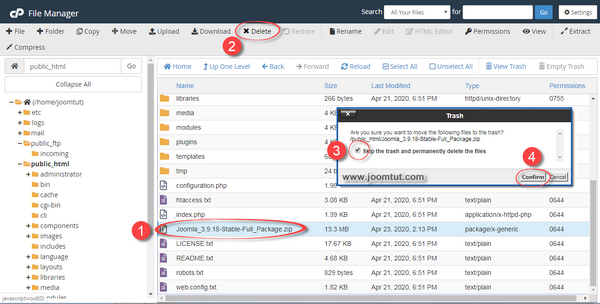
13 Delete the Joomla! installation package file then Close File Manager and logout of cPanel.
14 Now go to your domain name. Joomla! will automatically run the installer.
Read more: How to install Joomla!

