Upgrading a live website is not something to be undertaken lightly so please read the Upgrade Instructions carefully. The instructions may appear complicated because there are many different configurations that need to be considered, but we have tried to write them so that you need only select a single path from the many available depending on your particular circumstances.
It is recommended that you follow these steps when updating a production site
- Back up your site before upgrading to a new version. That way, if something goes wrong during the upgrade process, you can easily restore your site to the earlier version.
- Review the release notes for the new version to be familiar with what was changed.
- Updates will install the new program files, delete unneeded old program files, and update the database as needed for the new Joomla version.
Upgrading Joomla! to new version
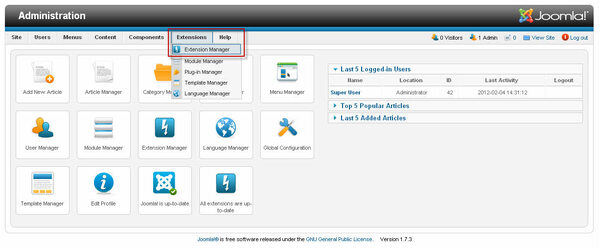
- In the Admin (Back-end) of your Joomla site, navigate to Extensions -> Extension Manager

In Extension Manager
- Select the Update tab.
- Click on the Purge Cache icon to clear out the cache.
- Click on the Find Updates icon in the toolbar.
If there is an available update, the screen will list it, similar to the screen shown below.
- Select the update (using the checkbox)
- Click on the Update icon in the toolbar.
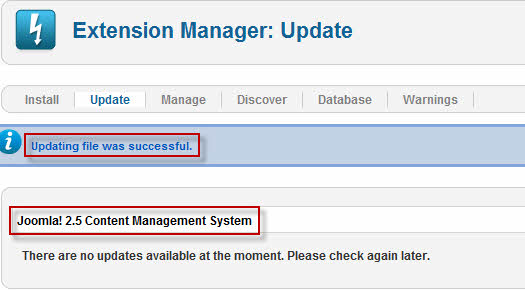
IMPORTANT: This process will take a few minutes. Wait until the process completes and the success message shows, similar to the screen shown below.

Your site is updated. Check that your site is working correctly.
If you have problems or errors during the update process, read more about: How to install Joomla! 1.7 or 2.5 update package


