Private domain name servers are DNS name servers that are associated with a particular domain name. Private domain name servers can only be used on Dedicated and VPS.
You can use your own DNS name servers, such as ns1.your-domain.com and ns2.your-domain.com instead of the name servers of your web hosting company.
Steps to setup your private domain name servers - DNS in VestaCP
1 Login to your VestaCP account.
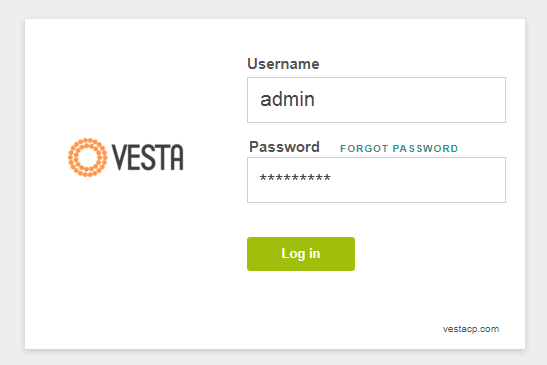
You have been provided an account to login to VestaCP after you have installed VestaCP.
By default, VestaCP's login address is: https://your-domain.com:8083
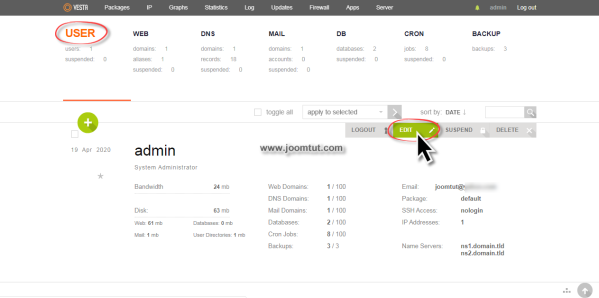
2 Hover your mouse on the user admin, a toolbar will appear. Click on the Edit button.
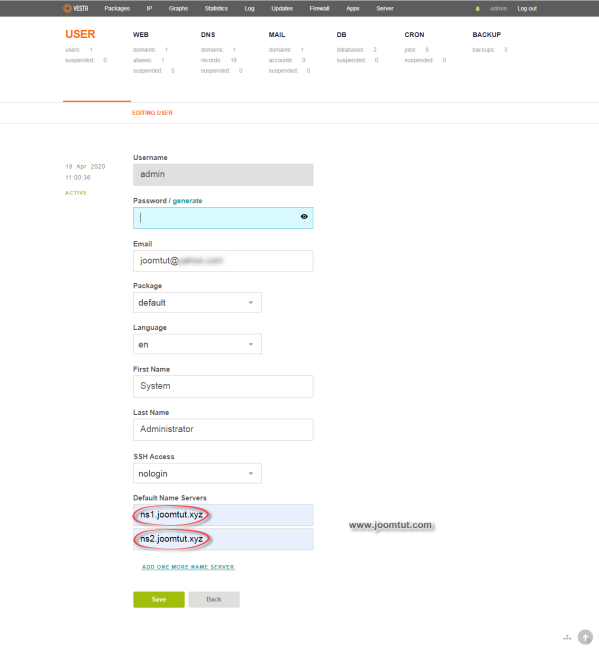
3 Change Default Name Servers to your domain name, sush as ns1.your-domain.com ns2.your-domain.com Click Save when done.
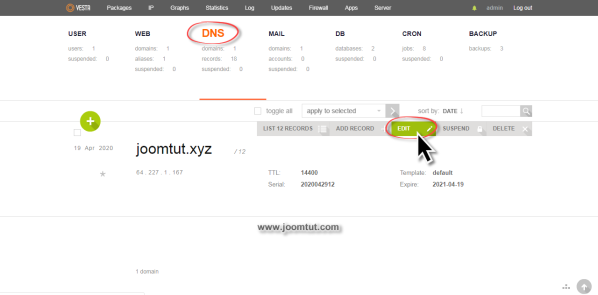
4 Go to DNS section. Hover your mouse on the your domain name, a toolbar will appear. Click on the Edit button.
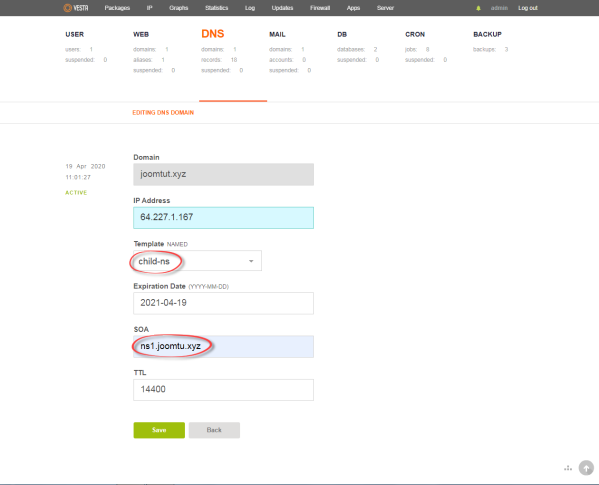
5 Change Template Name to child-ns Change SOA to your domain name, sush as ns1.your-domain.com Click Save when done.
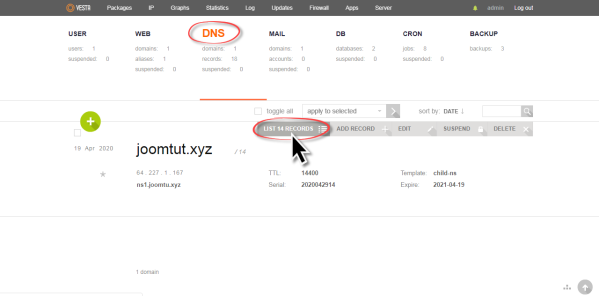
6 Back to DNS. Hover your mouse on the user admin, a toolbar will appear. Click on LIST 14 RECORDS button.
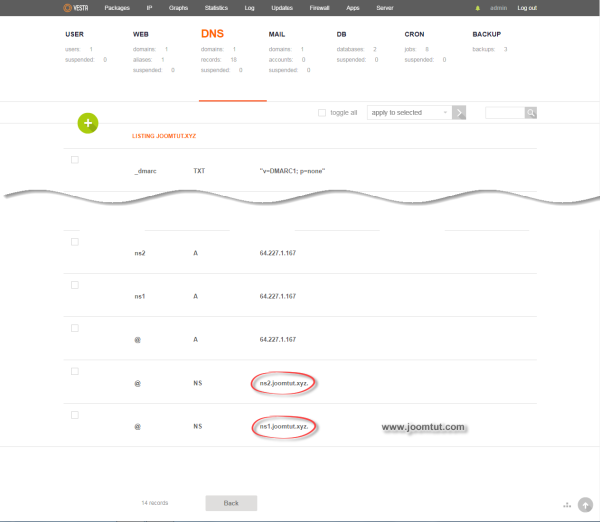
7 Hover your mouse on the record type NS then click on the Edit button. Change it to your domain name, sush as ns1.your-domain.com Repeat this step for ns2.your-domain.com
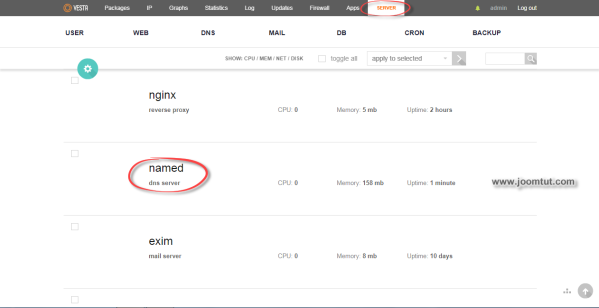
8 Go to Server tab and check to make sure DNS Server is running.
All done. Now you can register your name servers at your domain registrar then point your domain to your private name servers.
Read more: How to register Private Name Servers for your domain name

