Step by step how to setup a new private virtual server - VPS at DigitalOcean by creating a Droplet and install Centos 7 64-bit system on your server.
Private virtual server - VPS at DigitalOcean is called Droplet. Droplets are Linux-based virtual machines - VMs that run on top of virtualized hardware. Each Droplet you create is a new server you can use, either standalone or as part of a larger, cloud-based infrastructure.
Steps to create a new Droplet to setup a server for your website
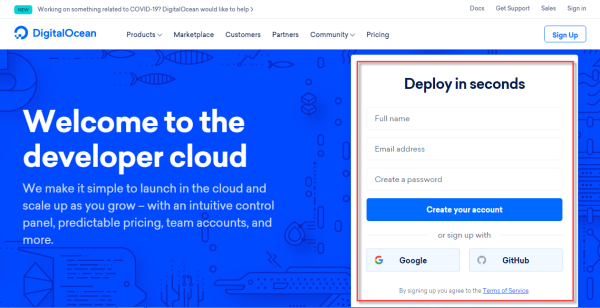
1 Go to https://www.digitalocean.com and create an account.
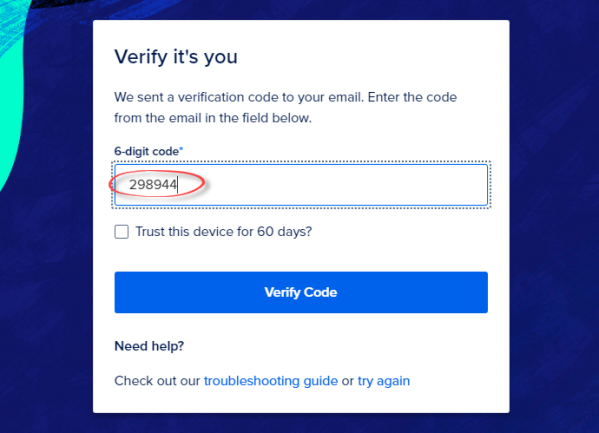
2 Login to your account. You may need to confirm by entering the code that was sent to your email.
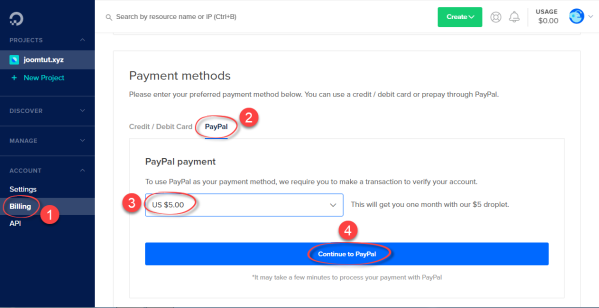
3 Go to Payment. You must set up payment information using a Credit/Debit card or deposit some money through PayPal before creating a Droplet.
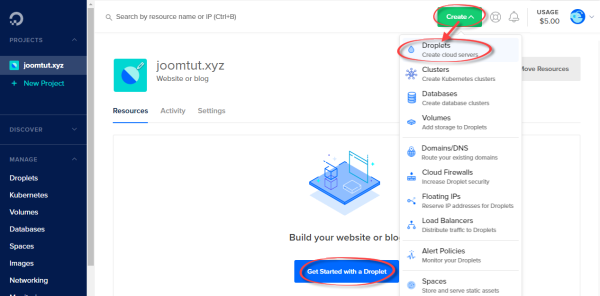
4 Now, click Get Started with a Droplet or go to Create -> Droplet
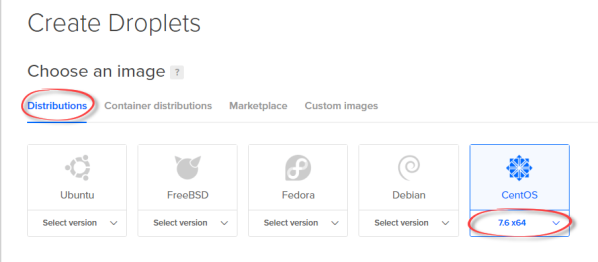
5 Choose an operating system image. Please select Centos 7.6 x64. We need it to install VestaCP on your VPS.
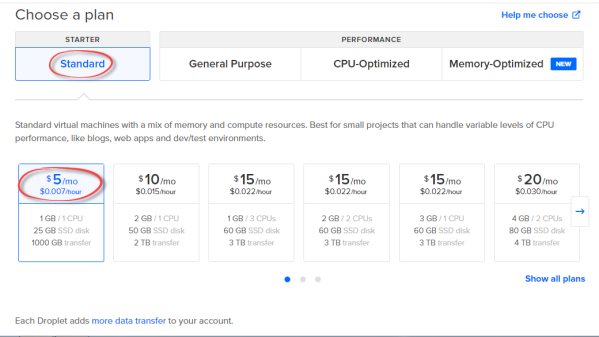
6 Choose a plan. You can choose any plan or start from the smallest standard plan with $5/month. Click on the left arrow then select the smallest plan, it is sufficient options for most cases. You can upgrade your Droplet at any time.
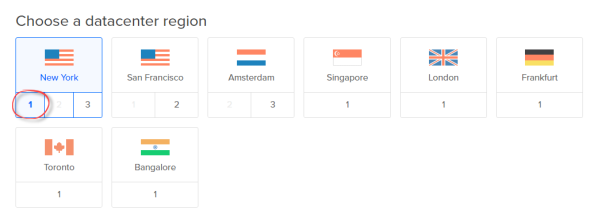
7 Choose a data-center region. This is the location of your server, typically the server location closest to your visitors is the best option to choose.
8 Select additional options. You can select them if you want. But if you don't know what they are, skip them.
9 Authentication. If you would like to login to your server using SSH keys, add in your keys here. If not, select a One-time password.
10 Finalize and create. Enter the name for your Droplet. You can keep the default or name anything you like. However, we recommend that you name it the same as your domain name.
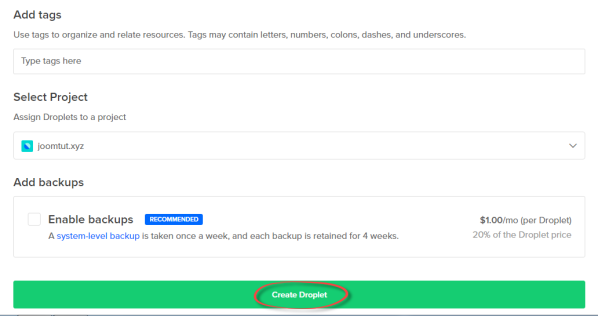
11 If everything is ready, please click Create Droplet.
This will begin the setup process for your server. It should take about a few minutes.
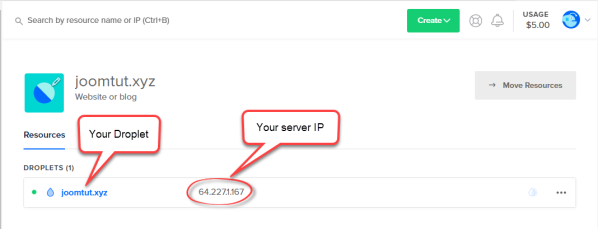
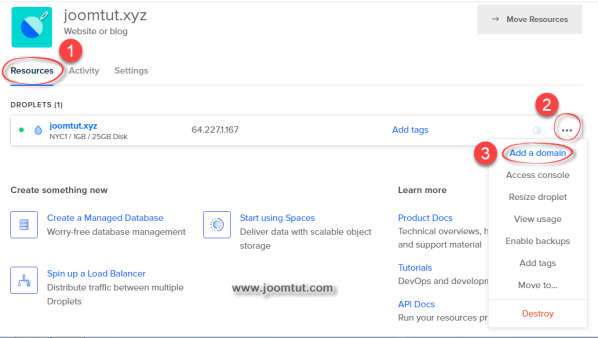
12 Add your domain name to your VPS
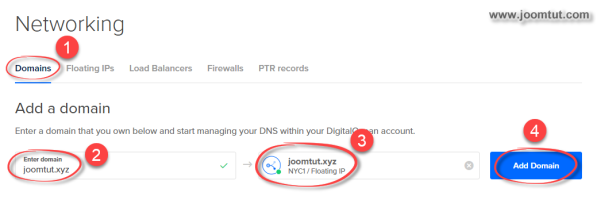
13 Enter your domain name and select the Droplet that you just created then click Add Domain button.
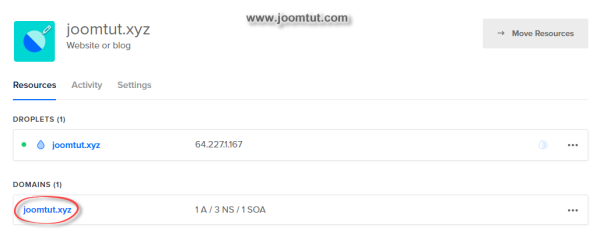
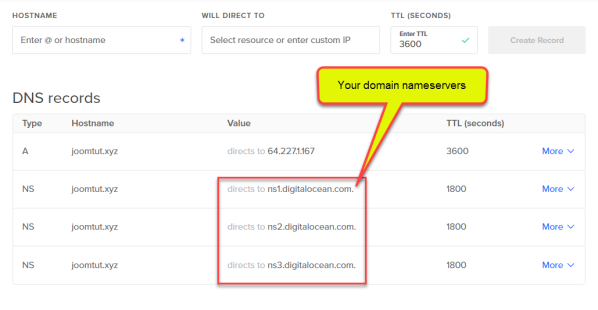
14 Manage your nameservers and DNS records by click on your domain name
15 You can add or delete DNS records. Please remember your nameserver, you need to point your domain name to your VPS.
Read more: How to point your domain name to new web server
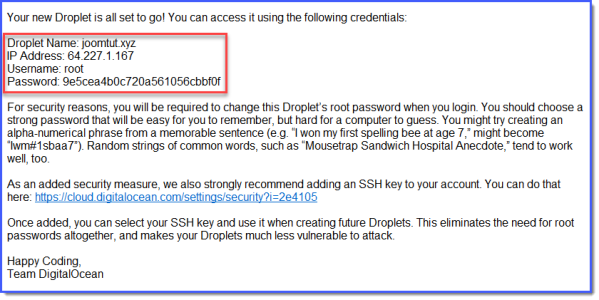
* Once your server has been provisioned, you will receive an email from Digital Ocean. This email contains the login details for your server.
Please keep this information in mind. To connect to your server, you will need a program called PuTTY.
Read more: How to make an SSH connection to your server using PuTTY
You can create as many drops as you like. But make sure you have enough money for them to work.
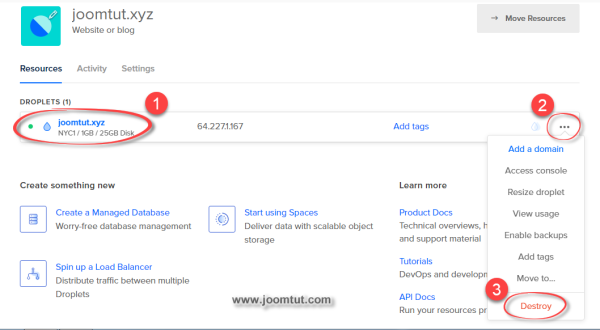
How to delete a Droplet - VPS
If your web server fails, you can delete this Droplet then create another one. You can delete a Droplet at any time by selecting Destroy.

