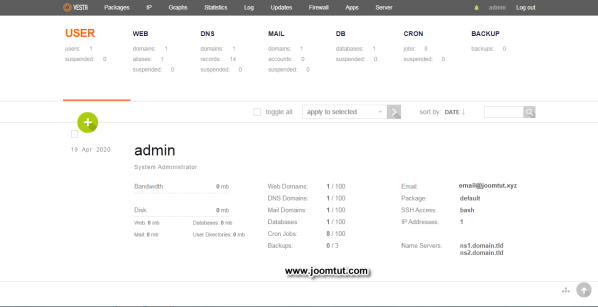
Vesta Control Panel - VestaCP is a free hosting control panel with power features. VestaCP was chosen to install for a lot of virtual private servers - VPS. It delivers optimized configuration for Low/Medium/High RAM server types,...
VestaCP is web server application for Linux operating systems as RHEL, CentOS, Debian, Ubuntu. VestaCP has a lot of useful features listed below.
- Simple and Clean graphical user interface.
- Web, DNS, Database, Mail, FTP Server.
- Nginx out of the box.
- SSL certificates & SNI.
- Wildcard support.
- DKIM support.
- Configuration Templates.
- Powerful CLI & API.
- Secure Platform.
- Easy update manager.
- Auto updates.
- Auto backups.
- System Monitoring.
- AntiSpam / Antivirus.
- GPL v3 License.
View full features of VestaCP here: https://vestacp.com/features/
Step to install VestaCP on VPS CentOS 7 64-bit
1 Connection to your VPS using PuTTY
Read more: How to make an SSH connection to your server using PuTTY
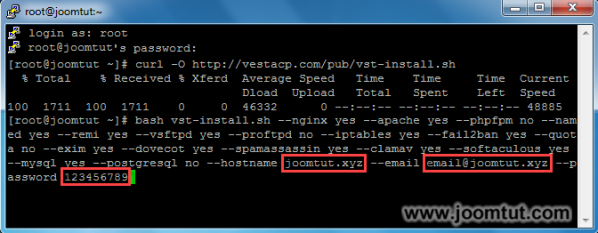
2 Run the command to download the installation script:
curl -O http://vestacp.com/pub/vst-install.sh3 Run the command to install VestaCP:
bash vst-install.sh --nginx yes --apache yes --phpfpm no --named yes --remi yes --vsftpd yes --proftpd no --iptables yes --fail2ban yes --quota no --exim yes --dovecot yes --spamassassin yes --clamav yes --softaculous yes --mysql yes --postgresql no --hostname joomtut.xyz --email email@joomtut.xyz --password 123456789- Change
joomtut.xyzto your hostname - Change
email@joomtut.xyzto your email - Change
123456789to your password or you can change it after install VestaCP.
You can quickly enter a long command by copying it then right-clicking your mouse in the PuTTY window.
* If you don’t know your VPS’s Hostname, please connect to your VPS via SSH then use the command:
hostname * If you want to change your Hostname, use this command:
hostnamectl set-hostname your-new-hostname* In order to apply the new hostname, please reboot your VPS by command:
Reboot* If you get error on installing VestaCP, please try this code:
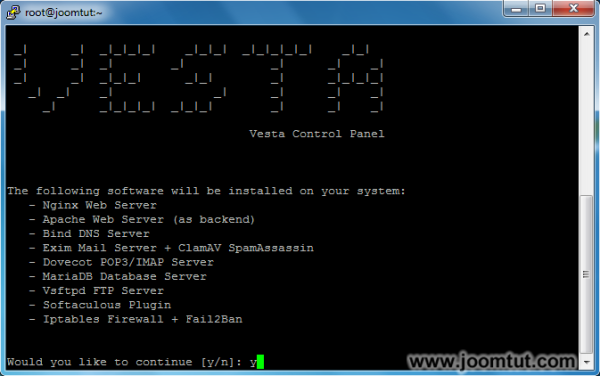
bash vst-install.sh --nginx yes --apache yes --phpfpm no --named yes --remi no --vsftpd yes --proftpd no --iptables yes --fail2ban yes --quota no --exim yes --dovecot yes --spamassassin yes --clamav yes --softaculous yes --mysql yes --postgresql no --hostname joomtut.xyz --email email@joomtut.xyz --password 123456789 --force4 Press y then press Enter to confirm to install VestaCP.
The above command will install the default VestaCP services. It is suitable for most usage needs. If you want to install another way please see other articles on our website.
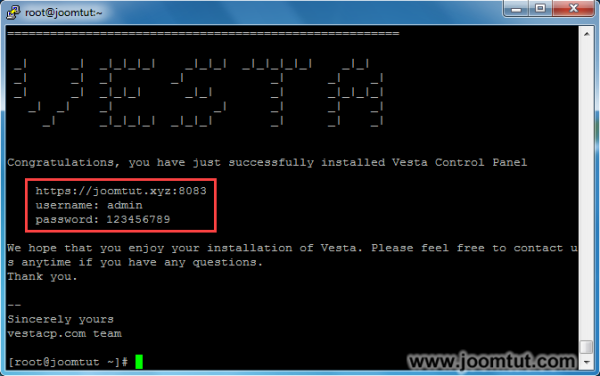
5 The installation may take 15 minutes. When finish, it will display the login detail on the screen.
Please save your VestaCP login detail:
- VestaCP URL:
https://joomtut.xyz:8083 - Username:
admin - Password:
123456789
Change joomtut.xyz to your hostname. Change 123456789 to your password
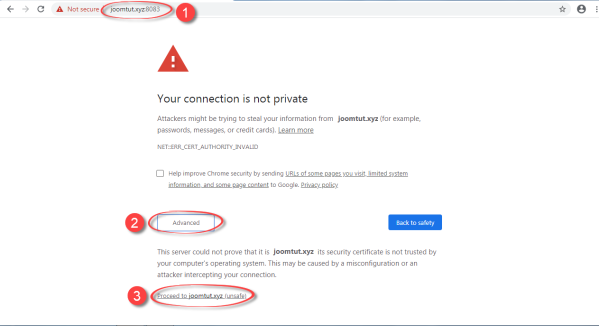
6 Now, open your web browser then go to your VestaCP URL. You will see the warning message “Your connection is not private”, click Advanced then click Proceed to joomtut.xyz (unsafe)
Don't worry about this warning, this is because you are using an HTTPS connection, but your domain name has not been SSL verified.
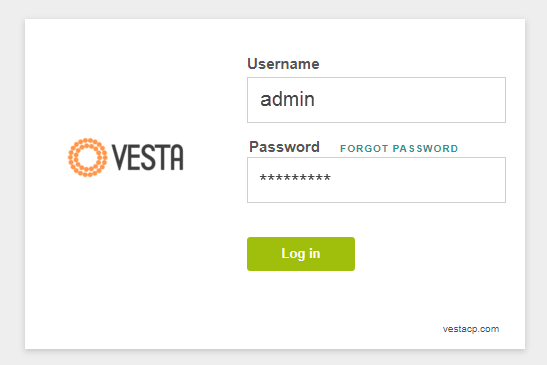
7 Enter your username and password to login to your VestaCP
8 The main screen of VestaCP appears. Take some time to learn its features. We will have tutorials on VestaCP.


