An FTP account is used for uploading, downloading and managing files on your website. An FTP account is automatically created in VestaCP when you install it on VPS. By default, you already have an FTP account in your VestaCP. You can use your VestaCP username and password to log into it.
You can create new FTP accounts to give access to other users without giving them your VestaCP login credentials. For each additional FTP account created, you can also give each user different levels of access by assigning the user to a specific directory.
1 Login to your VestaCP account.
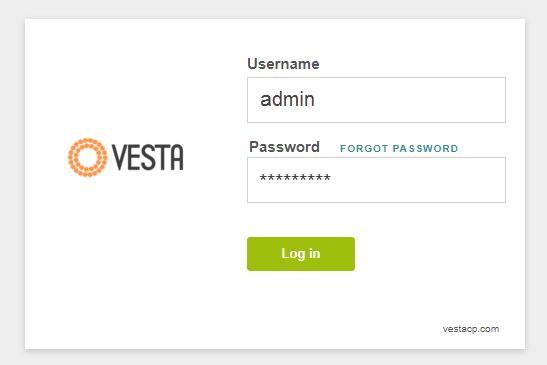
You have been provided an account to login to VestaCP after you have installed VestaCP.
By default, VestaCP's login address is: https://your-domain.com:8083
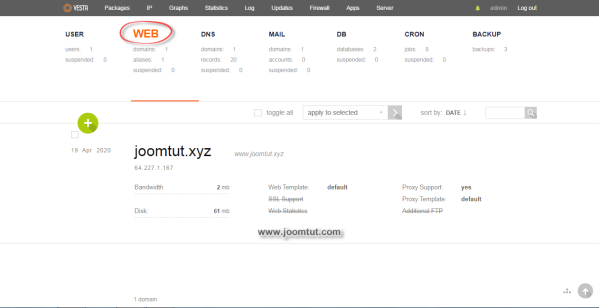
2 Go to Web section
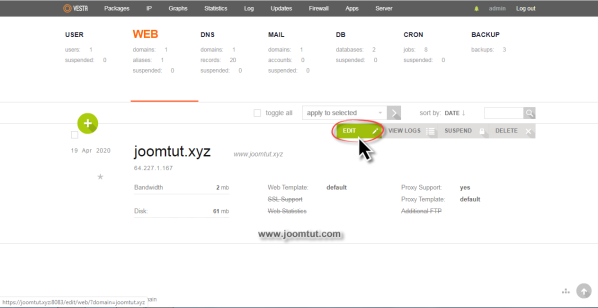
3 Move your mouse cursor over your domain name area, there will appear tool buttons. Click on EDIT button.
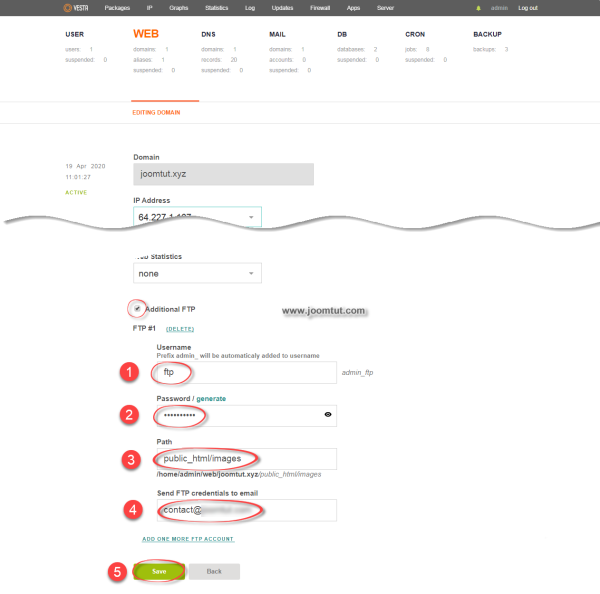
4 Select Additional FTP then follow these instructions:
- Enter a name for your FTP account. The FTP name prefix is available and cannot be changed
- Enter password for your FTP account. You can set your own password or use a password generator by click on the Generate text link.
- Enter the path to the directory you want to allow this FTP account to access. If you only want to allow access to the image directory then enter
public_html/imagesThis means that the FTP account is only allowed to access to images folder and its subfolders, cannot access the parent directorypublic_html - You can enter your email if you want to receive your ftp login information.
- Click Save button when done.
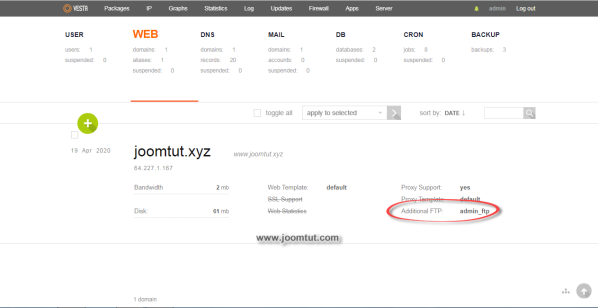
After the FTP account is created, you will see a list of Additional FTP accounts in your domain name section.
Please remember your FTP login information and password.
Now you can make an FTP connection to your server using FTP Client program.
Read more: How to make a FTP connection to your server using FileZilla Client

