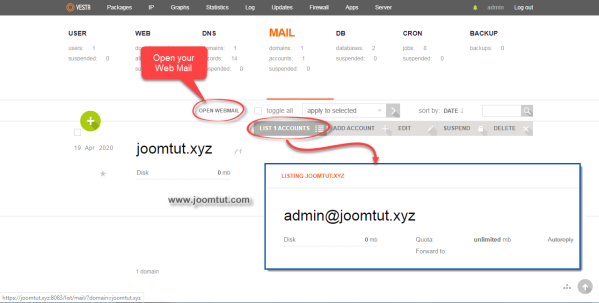
You may need an email box under your domain name to contact your website visitors. When you installed VestaCP on VPS, you will be provided with a control panel that allows you to create and manage the email accounts.
Steps to create an new email account in VestaCP on private virtual server - VPS
1 Login to your VestaCP account.
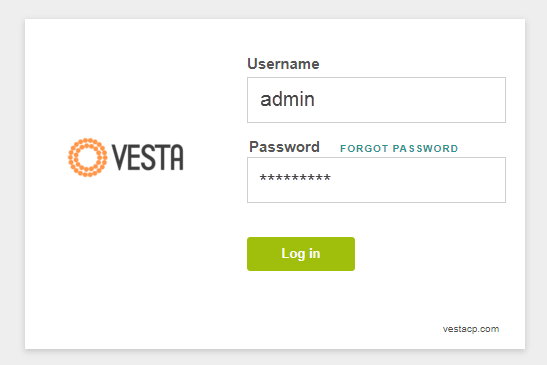
You have been provided an account to login to VestaCP after you have installed VestaCP.
By default, VestaCP's login address is: https://your-domain.com:8083
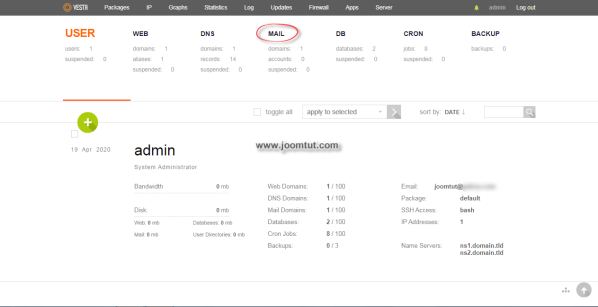
2 Go to Mail section
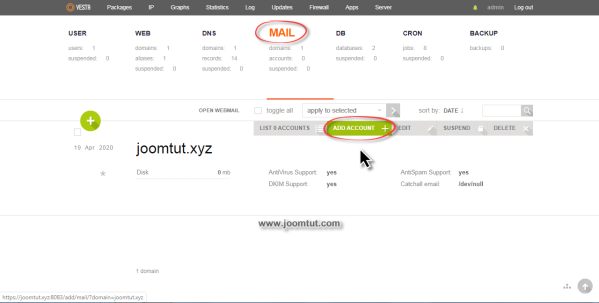
3 Move your mouse cursor over the email account area, there will appear tool buttons. Click on ADD ACCOUNT button.
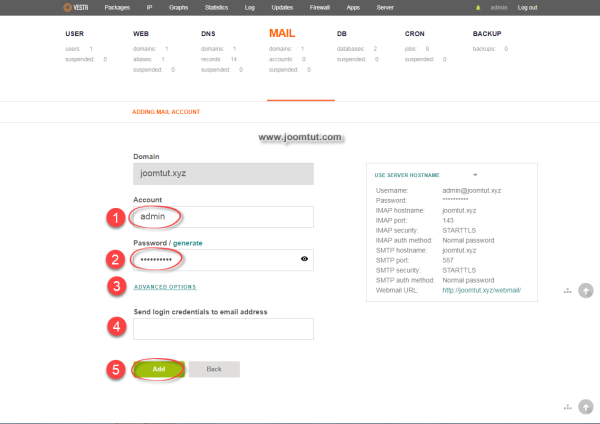
4 In Adding mail account, please follow these instructions:
- Enter a name for your email account.
- Enter password for your email account. You can set your own password or use a password generator by click on the Generate text link.
- You can click on ADVANCED OPTIONS to set a value to limit storage space for your email account or keep Unlimited
- Enter your existing email to receive an email with your email account information.
- Click Add button when done.
Please remember your Email address and password.
After the email account is created, you will see a list of email accounts in the Email Accounts section.
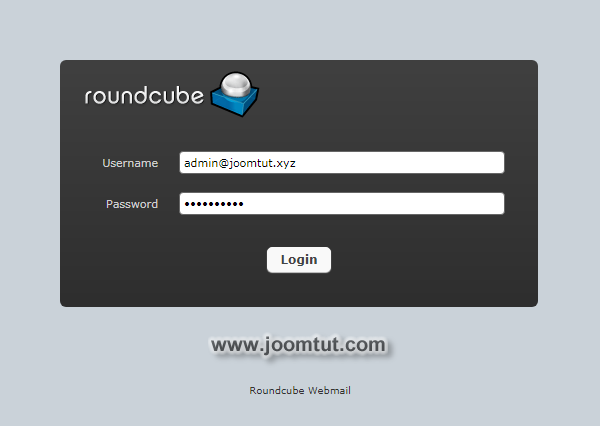
You can login to your email account by click on the CHECK MAIL button or go to your Webmail URL: https://your-domain.com/webmail/
